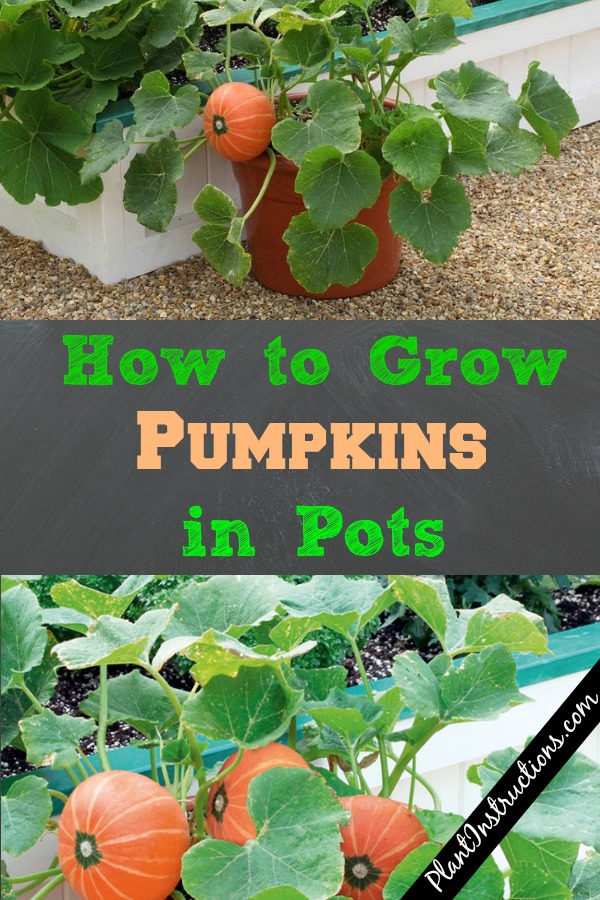
With fall just around the corner, it's time to get into all things pumpkin, gourds, and spice! This tutorial will show you how to grow pumpkins in pots which not only saves a ton of space, but also makes for a great fall decoration! If you want to learn more about how to grow pumpkins in pots, keep reading our easy to follow gardening guide!
How to Grow Pumpkins in Pots – A DIY Gardening Guide
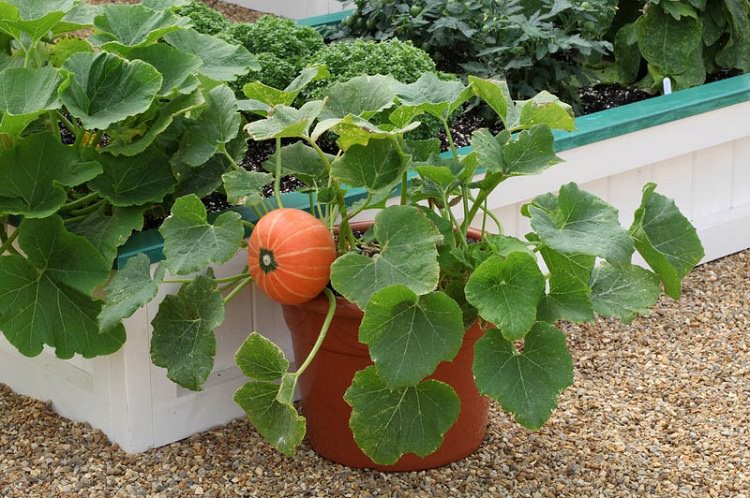
What's really great about growing pumpkins is that they're SO easy to maintain and care for, and they're also super adaptable! In temperate zones, pumpkins are annuals, while in tropical zones, they're perennials!
Planting Pumpkins:
- Plant once temperatures exceed 65F (18C).
- In colder climates, plant pumpkins from April to late May.
- Warmer climates can plant as late as July, while tropical and subtropical climates can plant at any time!
- Plant from either seeds or seedlings.
- Choose a pot that's at least 10 gallons in size.
- Be sure the pot or container has good drainage holes.
- Fill the pot with a good quality, potting soil mix enriched with humus.
- Add organic matter such as manure or compost to the soil.
- Plant your seeds or seedlings and water immediately.
- Place the pot in a sunny location where your pumpkin plant will receive at least 6 hours of sunlight per day.
Pumpkin Care:
- Pumpkins need a lot of moisture, so water deeply and regularly.
- Once your pumpkin starts growing, you may need to install a trellis for support. A A-shaped trellis is usually a good bet for pumpkins!
- Mulch around the plant after planting to ensure good moisture.
- Pumpkins are heavy feeders so use a 10-10-10 fertilizer in the early stage of growth.
- Later on, reduce the amount of nitrogen and switch to a 5-15-15 fertilizer.
Pumpkin Harvest:
- Pumpkins can be harvested within 90 to 120 days of planting.
So now that you know how to grow pumpkins in pots, it's time to roll up your sleeves and get to planting!
Like this post? Share and Pin 🙂
