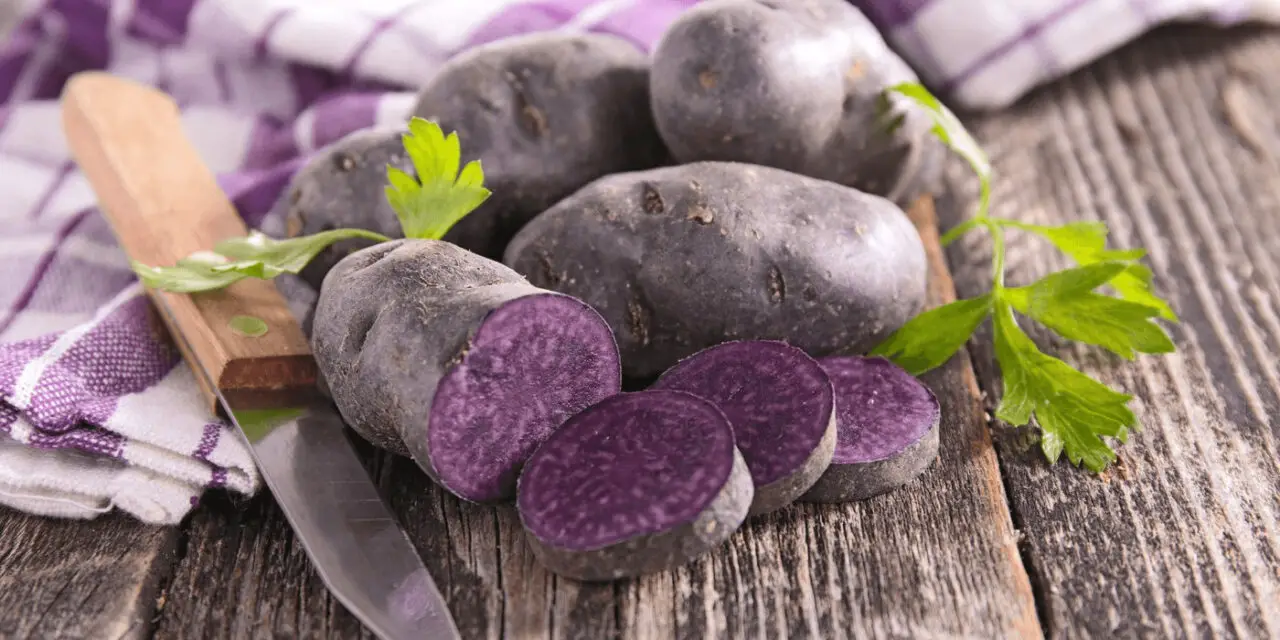
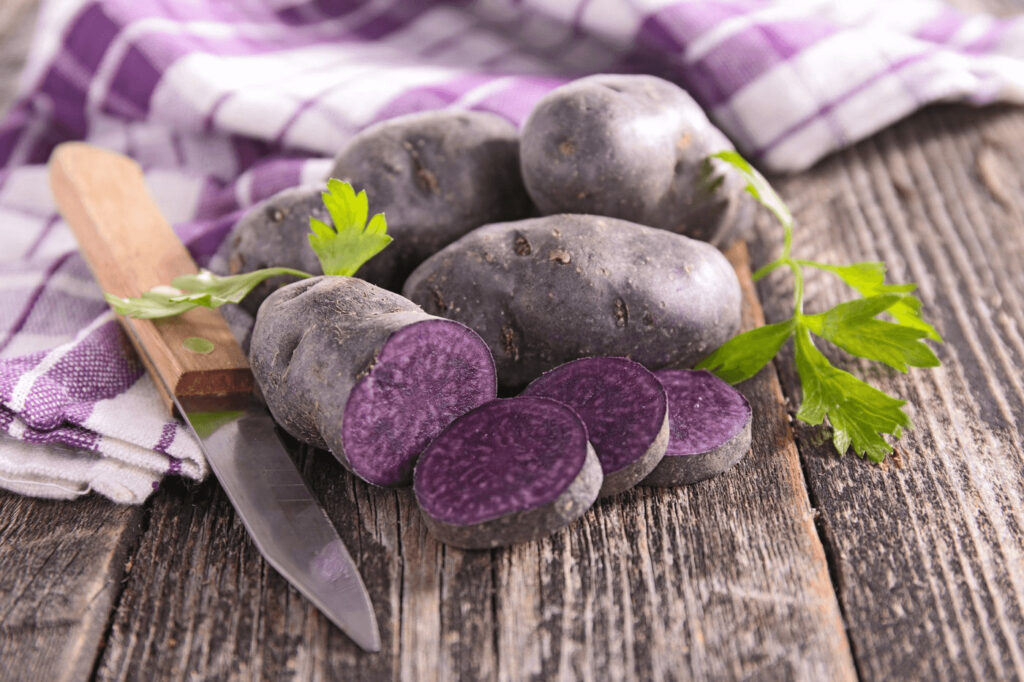
Potatoes are a staple in many cuisines around the world, and their versatility makes them an excellent choice for any home gardener. If you're looking to add a touch of uniqueness to your potato patch, consider growing Russian Blue potatoes. With their distinctive blue-purple skin and vibrant white flesh, Russian Blue potatoes are not only visually striking but also boast a delicious, nutty flavor. In this comprehensive guide, we'll take you through the steps on how to grow Russian Blue potatoes.
How to Grow Russian Blue Potatoes
Before diving into the growing process, it's essential to familiarize yourself with the characteristics of Russian Blue potatoes. These heirloom potatoes originated in the early 1900s in Russia and have since gained popularity for their striking appearance and excellent taste. They belong to the Solanaceae family and are known scientifically as Solanum tuberosum.
Preparing the Soil
Russian Blue potatoes thrive in well-draining soil with a slightly acidic pH level ranging from 5.0 to 6.0. Begin by selecting a sunny spot in your garden or allotment, preferably with loose, fertile soil. Remove any weeds, rocks, or debris from the area, and then prepare the soil by tilling it to a depth of 8 to 10 inches. Incorporate organic matter like compost or well-rotted manure to enhance soil fertility and moisture retention.
Planting Russian Blue Potatoes
Russian Blue potatoes are usually grown from certified seed potatoes, which can be purchased from garden centers or online suppliers. Ensure that the seed potatoes are firm, healthy, and free from any signs of disease or damage. Cut larger seed potatoes into smaller pieces, ensuring that each piece has at least two to three “eyes” or sprouts.
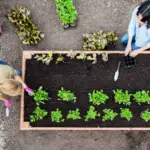
Plant the seed potatoes in trenches or mounds, spaced about 12 to 15 inches apart, and bury them 4 to 6 inches deep. Remember to place the cut side facing downwards, allowing the sprouts to grow upwards. As the plants emerge, gradually mound soil around the stems to promote better tuber development and prevent greening of the potatoes.
Watering and Mulching
Russian Blue potatoes require consistent moisture to grow and produce high-quality tubers. Water deeply once or twice a week, ensuring that the soil is evenly moist but not waterlogged. Mulching the potato plants with straw, wood chips, or leaves can help retain soil moisture, suppress weed growth, and regulate soil temperature.
Fertilizing and Nutrient Requirements
Russian Blue potatoes benefit from regular fertilization to support healthy growth and abundant tuber formation. Apply a balanced organic fertilizer or compost before planting to provide a nutrient-rich foundation. As the plants grow, side-dress them with compost or a balanced granular fertilizer every four to six weeks. Avoid excessive nitrogen fertilization, as it can lead to lush foliage at the expense of tuber development.
Pest and Disease Management
Like other potato varieties, Russian Blue potatoes are susceptible to various pests and diseases. Monitor your plants regularly for signs of common potato pests such as aphids, potato beetles, and wireworms. Employ organic pest control methods such as handpicking, neem oil sprays, or introducing beneficial insects like ladybugs.
To mitigate disease risks, practice crop rotation, avoid overwatering, and ensure proper spacing between plants for adequate airflow. Common potato diseases like late blight and potato scab can be managed by planting disease-resistant varieties, using certified disease-free seed potatoes, and applying appropriate organic fungicides when necessary.
Harvesting and Storage
Russian Blue potatoes are typically ready for harvest 90 to 120 days after planting. The plants will start to die back, and the potato skins will thicken and become firm. Carefully dig up the tubers using a garden fork or shovel, taking care not to damage them. Allow the harvested potatoes to cure for a week in a cool, dark, and well-ventilated area to improve their storage quality.
Store your Russian Blue potatoes in a cool, dark place with temperatures between 35°F and 40°F (1.5°C to 4.5°C) and moderate humidity. Proper storage conditions will help prevent sprouting, rotting, and loss of flavor. Regularly check stored potatoes and remove any that show signs of decay or sprouting.
Growing Russian Blue potatoes can be a rewarding experience, providing you with a bountiful harvest of visually stunning and delicious tubers. By following the steps outlined in this comprehensive guide, you'll be well on your way to successfully cultivating your own supply of these unique potatoes. Remember to pay attention to soil preparation, watering, fertilizing, and pest management, as these factors will contribute to the overall health and productivity of your Russian Blue potato plants. So, roll up your sleeves, get your hands dirty, and enjoy the journey of growing this exceptional variety in your own backyard!


