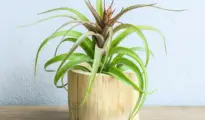
Aloe vera plants are some of the most popular plants you can have in your home, and one of the reasons for this is because they're so low maintenance! Aloe plants not only add a touch of tropical to your home, but they can also come in handy for cuts, burns, or scrapes! In this article, we will show you how to re-pot aloe plants the correct way so that your aloe plant can live on!
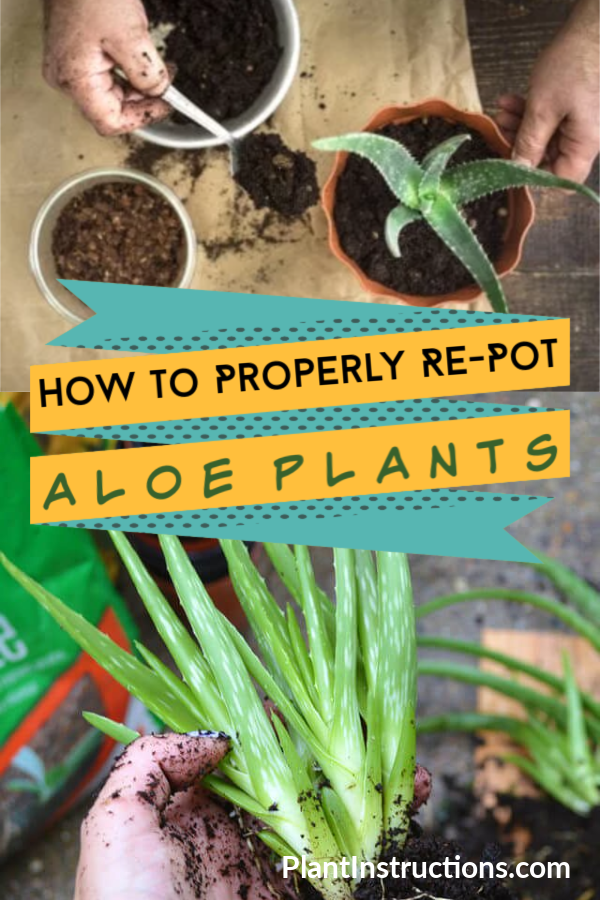
How to Re-Pot Aloe Plants the Right Way
Before we get into how to re-pot an aloe plant, it's important to know how to plant and care for it!
#1. PLANTING SPOT
Aloes aren’t very fussy when it comes to whether they’re grown indoors or outdoors, but the one thing they DO like is sun and warmth. In the summer months, bring your aloe outdoors in a sunny spot. In the winter, bring your aloe pot indoors and place it in a sunny spot.
#2. THE RIGHT POT
Aloe vera can grow to quite the size, so we recommend choosing a pot that’s a little bit bigger than the plant itself. This way, your aloe vera can extend and you won’t have to re-pot as often. Choose a pot that’s made out of clay or terracotta and ensure that it has good drainage holes.
#3. PLANTING
When planting aloe vera, be sure to leave enough space between each plant (if planting more than one) since aloe like to spread out.
#4. SOIL
Choose dry soil that will drain quickly and won’t hold water. If the soil is too alkaline, it can slow down the aloe’s growth. Choose a cactus mix or sandy soil.
#5. WATERING
Only water your aloe plant when the soil is completely dry. One of the most common mistakes is over-watering an aloe plant.
#6. SUNLIGHT
Aloe vera loves the warmth and sun, but doesn’t necessarily prefer direct sunlight. Instead, provide your plant with plenty of indirect sunlight.
#7. COMMON PROBLEMS
Aloe plants are pretty low maintenance, but if you notice the ends of the aloe plant curling up, it means your plant needs more water. If the tips of the leaves turn brown, that means your plant is receiving too much sun. If the leaves grow out flat instead of upright, that means your plant isn’t receiving enough sunlight.
Re-Potting An Aloe Plant
Aloe vera has a tendency to become root bounded, which means it can be a little tricky to get it out of the pot! Roots will actually grow in circles and send the pups straight up! This is why aloe plants need to be replanted, otherwise the pups will suck all of the life and energy out of the mother plant!
You will know this is happening when you start to see bright green colors in the horizontally grown leaves appear. Whether you are re-potting an entire plant, or simply removing the mother or the pups, the process is the same!
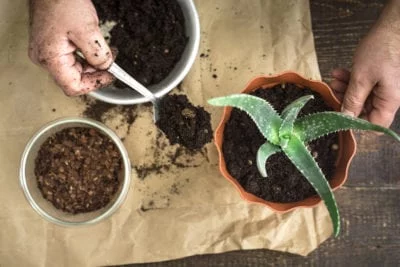
Using your hands, gently and carefully loosen the soil around the plant. Shake gently to separate the roots from the soil. Once loose, remove the plant, and re-pot in a new, clean pot. Follow the instructions above as if growing a new plant!
If you're re-potting pups, place them in the shade for about 3 weeks and water sparingly.
So now that you know how to re-pot aloe plants, it's time to roll up your sleeves and get to planting!
Like this post? Share, Pin, and Comment Below 🙂


How long does an aloe pup to root? I got one in Oct/nov & it’s now
April & it doesn’t have roots. It is putting out new leaves though!