Arborvitae (thuja) is one of the best trees you can plant, because they are so versatile and look really amazing. If you are interested in knowing more about this tree and how to plant it, look no further! Today we will teach you how to plant arborvitae trees properly.
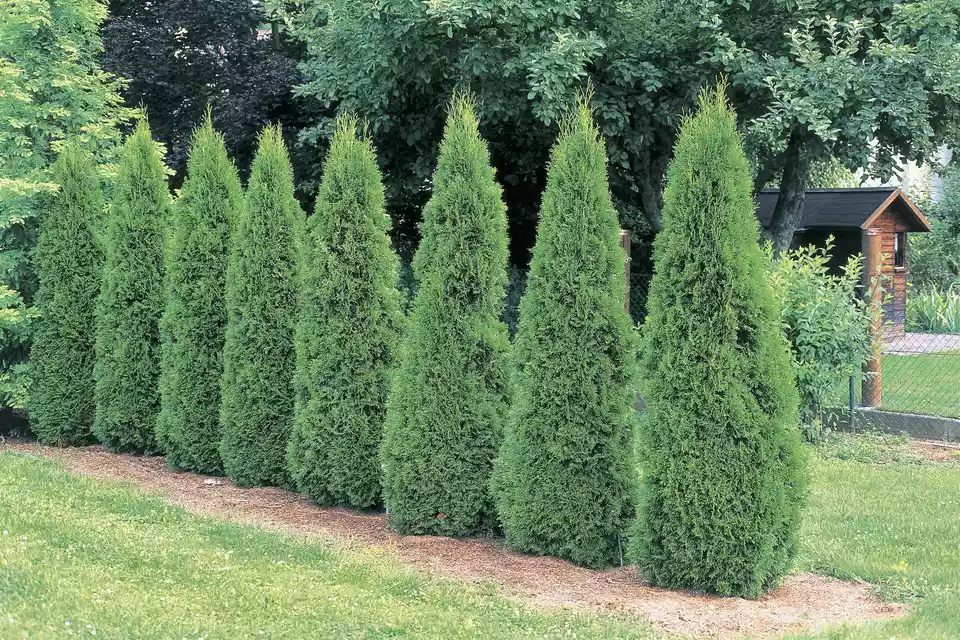
Arborvitae trees are the perfect choice if you are looking for privacy in your garden. These evergreen trees are easy-care, fast-growing, and, if you plant several of them in a row, you will have the perfect living fence. Although their many varieties can be used for many purposes! Let's learn more about arborvitae trees.
Arborvitae Trees 101
Thujas or arborvitaes are a genus trees with five species, 3 native to eastern Asia and two native to North America. We will be mainly talking about North America natives thuja occidentalis and Thuja plicata which are the most famous.
Thuja Occidentalis:
Thuja occisentalis, also known as Easter arborvitae or American arborvitae, is the most preferred for gardens since they are always available. They are mostly green all year round, but their foliage can darken to bronze during winter.
USDA Zones:
3 to 8
Soil:
Moist, well-drained soil
When to plant:
Early spring or late winter
Thuja Plicata:
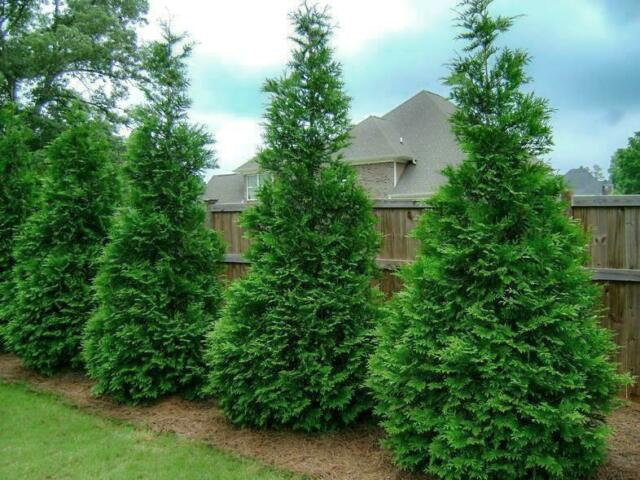
Thuja plicata also known as western red cedar, or giant arborvitae, is a fast-growing tree that can reach heights of almost 70 fee,t but you can find smaller ones. This tree foliage stays green all year round and has a conical shape.
USDA zones:
5 to 7
Soil:
Does well in most wooded areas.
When to plant:
Fall
How To Plant Arborvitae Trees Correctly
#1. Choosing the Right Spot
Find a spot in your garden where the tree will have enough space to grow their roots and foliage. You also need to consider the height so make sure nothing will stop it from growing. Make sure the spot can also provide protection to your tree from the wind. During the first years after planting, the arborvitae tree needs protection from the wind. If you can't find a proper spot, you can also support the tree with stakes.
Arborvitae trees grow in shaded areas but they do best in sunny spots. Choose a spot in your garden where the tree can receive at least 5-7 hours of direct sunlight. This will help your tree adapt and grow faster. If you live in an area with hot summers, your tree needs light shade in the afternoons to help it thrive.
#2. Amend your Soil
Thuja Trees prefer moist soil with lots of nutrients. Try to add an organic soil mix or compost to the ground where you are going to plant the tree. Alkaline soil or non-acid are also great for arborvitae trees.
Make sure your soil is well draining. To do that, dig a hole of about 30 cm deep, and fill it with water. If the water takes 10-15 minutes to drain, you found well draining soil!
#3. Planting from Saplings or Seeds
Saplings are young trees in a pot. If you want to plant your tree right away, purchase an arborvitae sapling from your local nursery. Make sure the sapling has a healthy green color with no signs of damage or sickness.
If you have time and are able to wait for the tree, plant arborvitae seeds in a pot and wait until they become saplings indoors. Wait until fall or spring during planting season and transfer the young tree outdoors. You can only grow arborvitae trees indoors as saplings. They will need to be planted outdoors for them to mature well!
#4. Planting the Arborvitae Tree
When digging a hole, make sure it’s the same depth as the arborvitae tree root ball. After digging down to fully cover the root ball, make the hole 2 to 3 time as wide. This way the roots can grow in loose enough soil. You can also mix some compost into the hole so it has extra nutrients for the root ball.
Now carefully take the young tree out from the pot. The easiest way to do this is turning the pot upside down and gently tapping to loosen. Make sure to loosen the root ball since this will prevent damage.
The next step is to place the arborvitae into the hole. Make sure the top root ball is higher than the surface of the soil because the roots can suffocate if not. Cover the hole with excavated soil and don't tamp or pack the soil, instead water thoroughly to settle.
If you want to make an arborvitae tree hedge or fence, you can align them in rows. Dig holes in evenly spaced lines spacing them 2 feet apart to give them enough space. Stake them with wooded stakes for support and an organized layout.
#5. Planting Arborvitae Trees in Container
Some smaller arborvitae trees can be grown in containers. They make excellent attractive plants for your garden or front yard. Some dwarf varieties can thrive in containers for years.
To plant arborvitae in containers, you will need pots larger than the root ball to give the roots enough space to grow. You can use any kind of pots, but try to get a resistant one if your winter is very cold. It's very important that the pot or container has good drainage holes.
Choose a good potting mix for evergreens to fill the pot. Do not use soil from the garden as it will be too heavy for drainage. Fill the pot until the middle and then place the root ball. Add more soil until it reaches the top. Water, then lightly tap to remove air pockets. Spread a layer of compost or mulch on the top of the pot, 1 inch around the root ball to retain moisture.
#6. Arborvitae Trees After Care
After your tree is correctly planted, the next step is taking care so it grows healthy and big. Add about 3 inches of mulch, 1 time in the summer and winter, or more if needed. Mulching will help to keep your tree cool during summer, insulate during cold winter, and maintain moisture.
Fertilize with a nitrogen-rich fertilizer every year in the springtime to give your tree extra nutrients. You should water your arborvitae tree at least 1 inch of water per week. They prefer moist but not soggy soil!
Like this post? Pin, share and comment below 🙂


