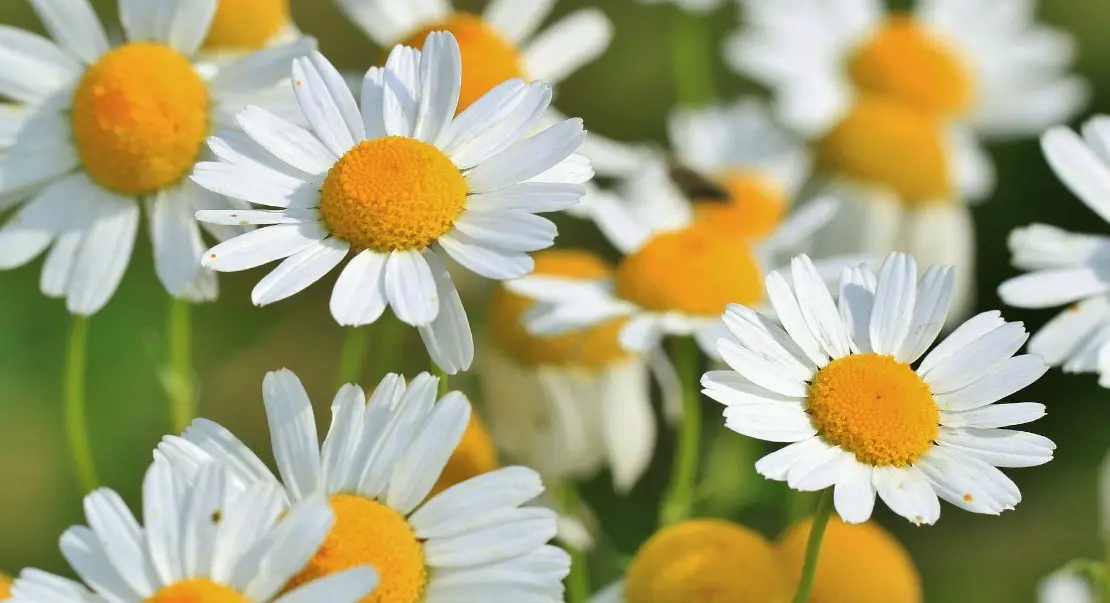
Chamomile is one of the best plants you can grow in your garden because they're very easy to take care of and their medicinal properties are simply amazing! Chamomile tea, for example, is one of the healthiest teas you can make, but harvesting your own chamomile is even better because it's 100% organic! Today we'll show you how to grow and harvest chamomile so you can enjoy your very own chamomile tea straight from your backyard!
How to Grow and Harvest Chamomile – A DIY Guide

The great thing about growing chamomile is that once you post a few plants in your garden, they'll keep growing again and again as they drop seeds everywhere. So before you even plant, make sure to set up a separate area for your chamomile plants, otherwise they'll disperse all over your garden and take over.
Planting Chamomile:
- Pick a sunny spot in your garden.
- Till some compost onto the ground and rake it smooth.
- Simply grab a handful of seeds and throw them over the soil (make sure it's a sunny area).
- Chamomile seeds do not need to be planted directly into the ground – they'll germinate easily just by being thrown onto the soil.
- After “planting” water the soil well.
- Once the plants have germinated and have developed a few leaves, thin them out, leaving about a 6″ space in between each plant.
Harvesting Chamomile:

- Pick chamomile after the morning dew has dried off.
- Just pinch off the flower heads to harvest them.
- To dry chamomile, spread it out onto a baking sheet lined with parchment paper and place in a dry area, such as on top of the fridge.
- When a flower head crumbles easily in between your fingers, your chamomile is ready and dry (this should only take a few hours!).
- Store in a clean, airtight jar in a cool, dark place.
You can make a number of different things with chamomile including teas, salves, and lotions!
Like this post? Share and Pin 🙂


